Manage Preferences
Streamline user onboarding and customize workspace setups. The "Manage Preferences" utility provides the ability to Create New Preference, allowing authorized administrators to readily clone complex product filters and dashboard layouts from one user to another.
How to Add a Preference
To begin customizing a workspace and managing filters, you will need to add a new preference profile.
1. Initalize the Workflow
Locate and click the Add Preference button on the Preferences dashboard interface.

2. Configure the Fields
The Add Preference modal window will appear, presenting you with the required fields to build the preset.
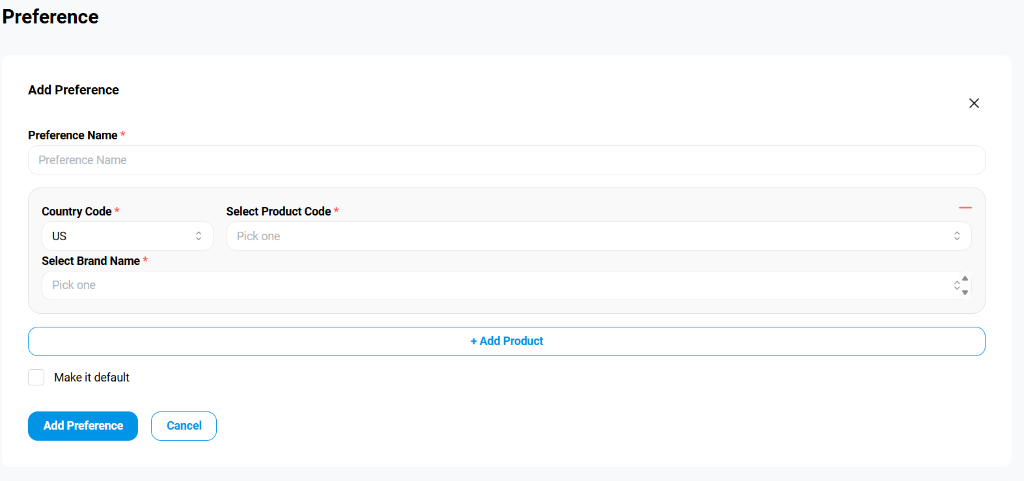
The core selection fields control exactly what data the preference acts upon:

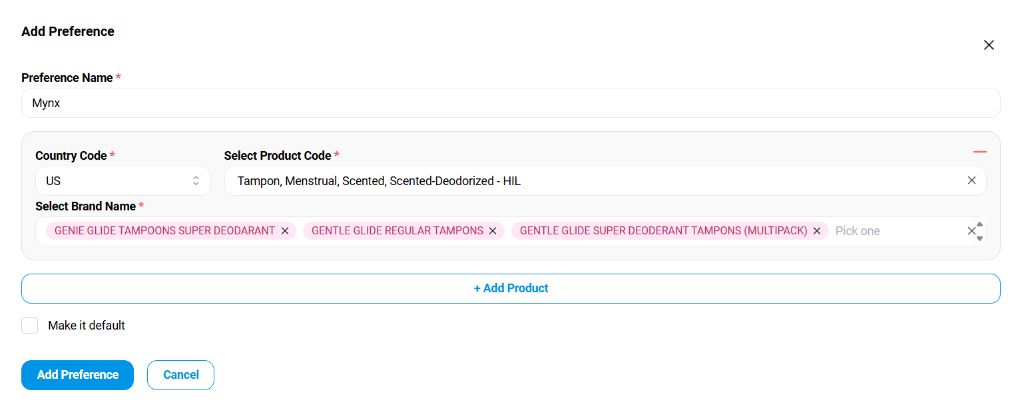
- Preference Name: Give your new view layout a recognizable identifier (e.g., "Mynx" or "Quality KPI Set").
- Country Code: Select the target country code (e.g., "US").
- Select Product Code: Choose the overarching product category.
- Select Brand Name: Pick one or more specific brands associated with that category.
Tip: You can use the + Add Product button multiple times to stack and track completely different product sets inside a single master preference.
3. Review and Save
Double-check your field selections to ensure you have captured all relevant parameters.
If you would like this custom configuration to apply automatically as the user's initial dashboard view, simply check the Make it default box near the bottom.

- Click Add Preference to finalize and save this layout into the system.
- Click Cancel at any time to discard your inputs.
A confirmation toast will appear: "Preference has been created successfully". The newly created preset will now be available for use and, if you checked "Make it default", it will automatically apply to the dashboard upon login.